

DIY PPF install kit lets you protect your car’s paint, save money, and get that near-pro finish—if you know what you’re doing. Many DIYers tackle paint protection film at home with high hopes but underestimate the precision required. If you own a mid- to high-value vehicle and want a hands-on approach to long-term paint protection, this guide is for you.
Key Takeaways
- DIY PPF install kits can save you up to $1,500 versus professional installs, but demand serious preparation and attention to detail.
- The real cost includes film, essential tools, and rework—expect $200–$900 depending on mistakes and your learning curve.
- Most DIYers struggle with air bubbles, edge lifting, and film alignment, but these issues are preventable with the right process, workspace, and tools.
- Market snapshot & what’s changing in 2024
- Step-by-step DIY PPF install kit guide
- Advanced analysis & common pitfalls
- Conclusion: expectations, kit picks & next steps
- Frequently Asked Questions
Market snapshot & what’s changing in 2024
The market for paint protection film is quickly evolving, and DIY PPF install kit solutions are now a major driver of industry growth. Market reports estimate the PPF segment at between $502.6 million and $1,022.5 million in 2024, with annual growth locked at 5.7%–7.2% as more car owners opt for DIY installation for cost savings and control. High-quality, consumer-targeted kits are now more accessible than ever, bridging the gap between premium protection and an affordable home install.
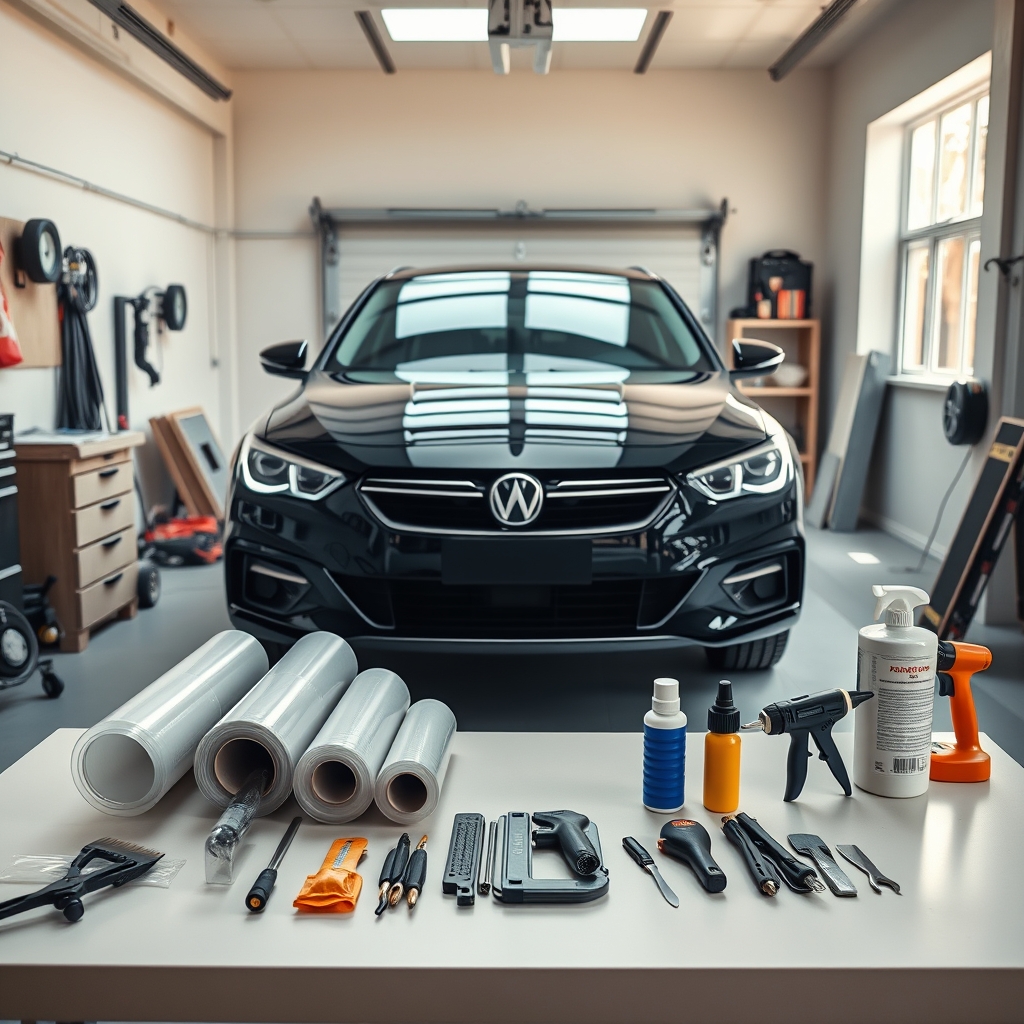
Why this matters: Professional full-car installs average $1,800, thanks to included warranties, factory-cut panels, and climate-controlled environments. DIY PPF install kits let competent DIYers protect their investment for $200–$900, provided they’re ready to learn technique and invest in the right tools.
Film technology now features improved self-healing topcoats, UV resistance, and wider rolls (up to 72 inches) from brands like 3M, as highlighted in recent market analyses. The shift is clear: more car enthusiasts and homeowners, much like Alex in our persona, want pro-level protection without paying pro-level prices.
For the latest pricing, recent cost figures, and trends driving this change, see the MarketsandMarkets 2024 PPF report and additional context from Tint Academy’s industry update.
Step-by-step DIY PPF install kit guide
Ready to use your DIY PPF install kit? Here’s a realistic, actionable guide that covers what most articles skip—cost, timing, tools, and how to avoid expensive mistakes. Think of this process like applying a phone screen protector on steroids: It’s all about cleanliness, method, and patience.
1. Workspace Setup and Essential Tools
- Work indoors—preferably 60–75°F and wind-free. If you lack climate control, pick a cool, shaded day.
- Cleansing tools: clay bar, microfiber towels, isopropyl alcohol, spray bottle.
- Install tools: slip solution, squeegee, precision blade (e.g., Olfa 30-degree), lint-free gloves, and a heat gun.
- Expect to add $150–$300 in tools to your kit cost. Paint correction before starting will maximize film clarity.
2. Paint Prep
- Wash thoroughly to remove waxes, sealants, bugs, and tar.
- Claying: Glide a clay bar over the surface for a glass-smooth finish.
- Final wipe: Use isopropyl alcohol to ensure no residue remains.
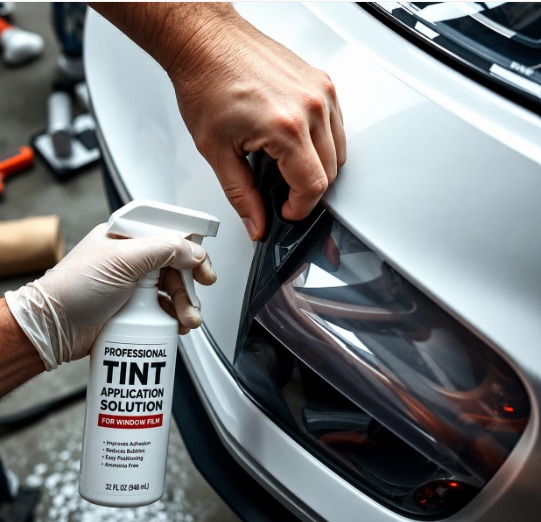
3. Kit Layout and Film Sizing
- Pre-cut kits are easier but costlier. Bulk rolls demand precise measuring and cutting—leave 0.5–1 inch excess for edges.
- Test-fit pieces before peeling the backing. Align reference points (badges, body lines).
4. Wet Application
- Spray slip solution on the panel—and both sides of the PPF film—to allow repositioning and avoid stuck edges.
- Peel liner, gently lay film on the panel. Keep everything wet until positioning is locked.
5. Squeegee & Tack Down
- Work from center outward. Use overlapping strokes to chase liquid and air out—keep angle shallow to avoid wrinkles.
- On curves, use gentle heat to mold film; press firmly but never stretch excessively.
- Rewet if film starts to drag. Check for trapped debris regularly before locking down edges.
6. Edge Finishing
- Wrap edges where possible. Use heat and the squeegee to secure edges. For complex seams, revisit after 20–30 minutes—film relaxes as adhesive sets, making stubborn bubbles easier to push out.
- Trim any excess with a sharp blade, always gliding away from painted surfaces.
7. Cure & Inspect
- Wait 12–24 hours before washing. Avoid direct sun in the first 48 hours if possible.
- Use a soft cloth to gently tamp down any late-appearing bubbles or edge lift.
Time per panel: 30–50 minutes for beginners; experienced users can achieve a pristine finish in 20–30 minutes. Don’t rush—any error can mean $30–$200 lost film and prep time.
Related: For the best results, combine PPF with a ceramic coating kit as a maintenance layer.
Advanced analysis & common pitfalls
Installing a paint protection film kit at home sounds simple, but reality bites—fast. Below is a breakdown of the most common issues (and how to prevent or fix them), plus a realistic look at what goes into a successful DIY job.
| Issue | Prevention | Fix |
|---|---|---|
| Air bubbles | Thoroughly squeegee from center, keep surface wet, avoid dust, never lock edges first. | Small bubbles: pinprick with a sterile needle, press flat with squeegee. Large: lift section, reapply slip, and re-squeegee. |
| Edge lifting | Use gentle heat to activate adhesive on curves, avoid overstretching, seal after 30 min. | Reheat and press; if persistent, trim and clean, then retack with a small amount of edge sealer. |
| Yellowing/discoloration | Buy film with a high-quality, UV-stable topcoat from a trusted brand. | None—film must be replaced if yellowed throughout. |
| Film wrinkles | Apply light, even tension, use heat sparingly, always keep hands clean and surface wet. | Lift area, gently rewarm, and smooth out with squeegee—do not overstretch. |
Most user complaints focus on air-bubble formation, edge lifting, and film yellowing, often from low-grade adhesives or dirty prep. Choosing a proven kit and following a proven, stepwise approach is essential.
What should you look for in top DIY PPF install kits?
- Film thickness: 6–8 mil is standard; thicker can be trickier to apply but more durable.
- Topcoat: Seek self-healing polyurethane with UV inhibitors.
- Adhesive: Opt for low-tack (easier to reposition) with edge-bonding technology.
- Specifications: Compare coverage, warranty, and pre-cut accuracy. 3M, XPEL, and SunTek are highly reviewed.
Industry data shows that bulk films can be up to 50% less expensive, but require extra skill for hand cutting and alignment. Most DIY complaints link to cheap kits with subpar adhesives or inadequate tools. For a side-by-side look at pro versus DIY costs and risks, see this ShineCo cost analysis.
Pro-Tier Features Now Available on DIY Kits
- Wider films (up to 72 inches) reduce seams (2019-2024 trend).
- Self-healing clear coats and high-clarity urethane boost longevity vs. old-school vinyl kits.
- Consumer kits increasingly include alignment tabs, easier slip adhesives, and beginner-friendly guides.
For a deep dive into prep and long-term care, check out these guides: Foam cannon wash and ceramic coating cost comparison. Want to compare PPF vs. DIY ceramic or graphene coatings? See our PPF installation guide.
Conclusion: expectations, kit picks & next steps
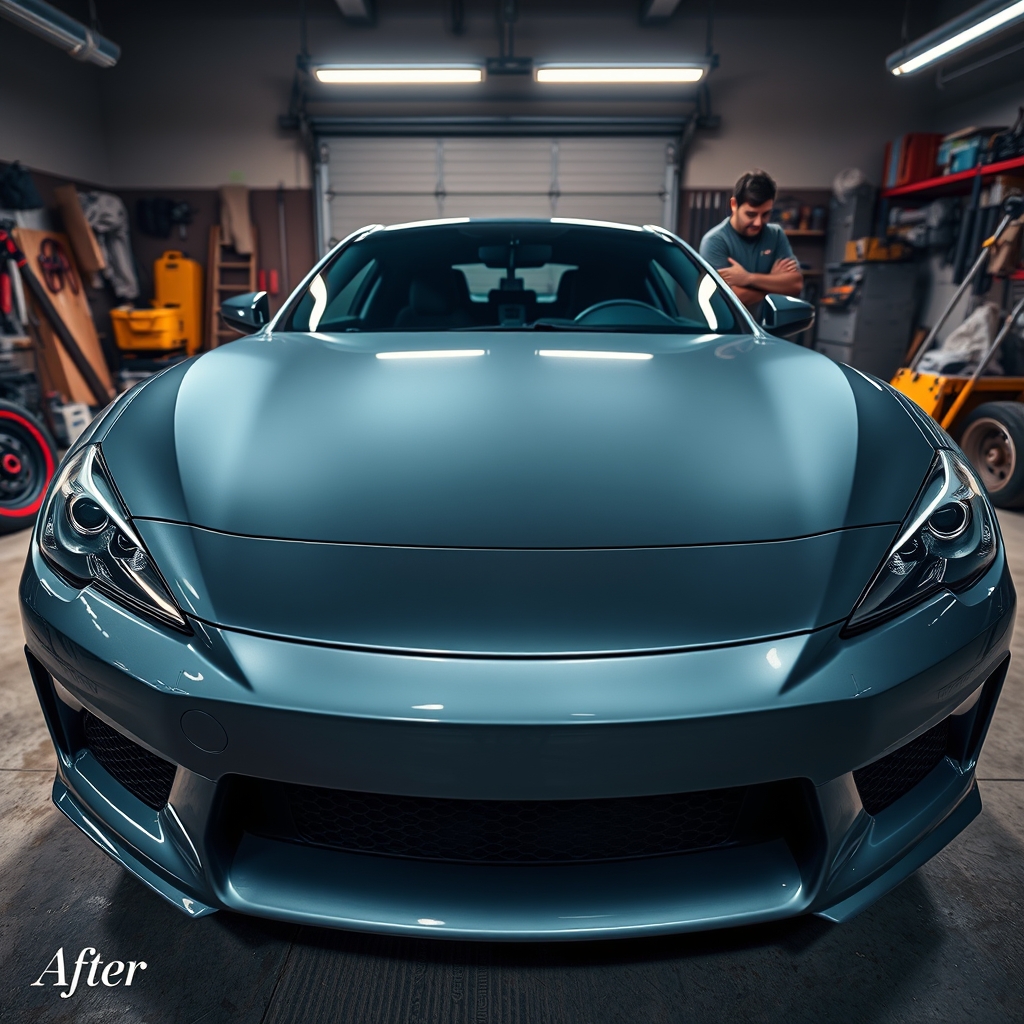
DIY paint protection film offers a real value proposition—but only if you respect the learning curve. Expect to invest $200–$900 (kit, tools, and some “whoops” moments) for a full-vehicle install with quality results. That’s a steep savings over the $1,200–$3,000 shop average, but you trade convenience for time and accept the risk of mistakes.
Recommended kits by budget:
- Budget (under $250): Bulk PPF film rolls (6 mil), slip bottle, and generic tools—ideal for flat panels.
- Mid-tier ($250–$500): Pre-cut kits for popular sedans/SUVs, name-brand film (e.g., SunTek, XPEL), heat gun, pro squeegee set.
- Enthusiast ($500+): Full-panel pre-cut 3M or XPEL Ultimate, edge sealant, workspace dust canopy.
Want to see this process in action? Get the full visual guide here or download your printable tools checklist. Still on the fence? Use our quick DIY vs. Pro decision guide:
- Car value over $40,000? Frequent highway or track use? Shop warranty and resale essential? Consider pro install.
- Comfortable tackling a 2–4 hour project with some upfront investment? Aftermarket fan? Go DIY.
Have you tried a DIY PPF install kit before? Share your results below, or download the checklist and follow along with our step-by-step video. Your paint—and your wallet—will thank you.
Frequently Asked Questions
Is a DIY PPF install kit hard for a beginner to use?
It’s challenging but doable. If you’re detail-oriented and OK with some trial and error (think: bubble-free phone screen protector, but bigger stakes), you can achieve a near-pro result—just start on small, flat panels first.
What’s the true cost of a DIY paint protection film kit at home?
Expect $50–$500 for the film, plus $150–$300 for necessary tools. If you make mistakes and need to re-cut or reapply, total costs can reach $400–$900. Still far less than a $1,800+ pro install, but add up your time investment too.
Can I install PPF outdoors or in an open garage?
It’s possible, but dust, debris, and temperature fluctuations increase your risk of defects. Always aim for the cleanest, most wind-free, and shaded space you can manage. Avoid direct sun during installation and the curing period.
Are all “DIY PPF install kits” the same quality?
No—film thickness, adhesive, UV stability, and kit instructions vary widely. Stick with reputable brands like 3M, XPEL, or SunTek for proven results and avoid ultra-cheap, no-name eBay specials.
How do I fix bubbles or lifting edges after installing?
Small bubbles can be popped with a sterile pin and pressed flat. For edge lift, clean and re-tack with gentle heat or a specialty edge sealer. Persistent problems usually require lifting and reapplying that section.