

DIY PPF install kit is a top search among car owners who want paint protection without spending thousands. This practical, data-driven guide will show you if a paint protection film kit at home is the smart move, what’s required, and how to avoid the top mistakes that leave buyers frustrated—or with a ruined finish.
Key Takeaways
- DIY PPF install kits are 30–50% cheaper than professional installs but require advanced prep, careful practice, and honest self-assessment of skill.
- The most common user complaints—bubbles, edge lifting, and film misalignments—are preventable with the right tools and preparation.
- For most first-timers, starting with a pre-cut front bumper kit is safest; full-car projects are challenging even for experienced DIYers.
- Quick snapshot — Is DIY PPF right for you?
- How to install a DIY PPF kit at home — actionable step-by-step plan
- Advanced analysis & common pitfalls — avoid costly DIY mistakes
- Conclusion & when to hire a pro
- FAQ / troubleshooting
Quick snapshot — Is DIY PPF right for you?
Deciding whether a DIY PPF install kit makes sense comes down to five key factors: your available budget, hands-on experience, value and age of your vehicle, willingness to accept minor cosmetic flaws, and your tolerance or understanding of limited warranty coverage. On average, a DIY paint protection film kit at home costs 30–50% less than pro installation—typically $500–$800 for a bumper kit and up to $1,800 for a full car—while pro installs range from $1,500 for partial up to $12,000 for full coverage (Research Findings). The DIY market is gaining popularity fast, driven by e-commerce and YouTube making reliable kits and tutorials more accessible, but every buyer needs to accept trade-offs: time, risk, and the possibility of minor flaws or less warranty protection.
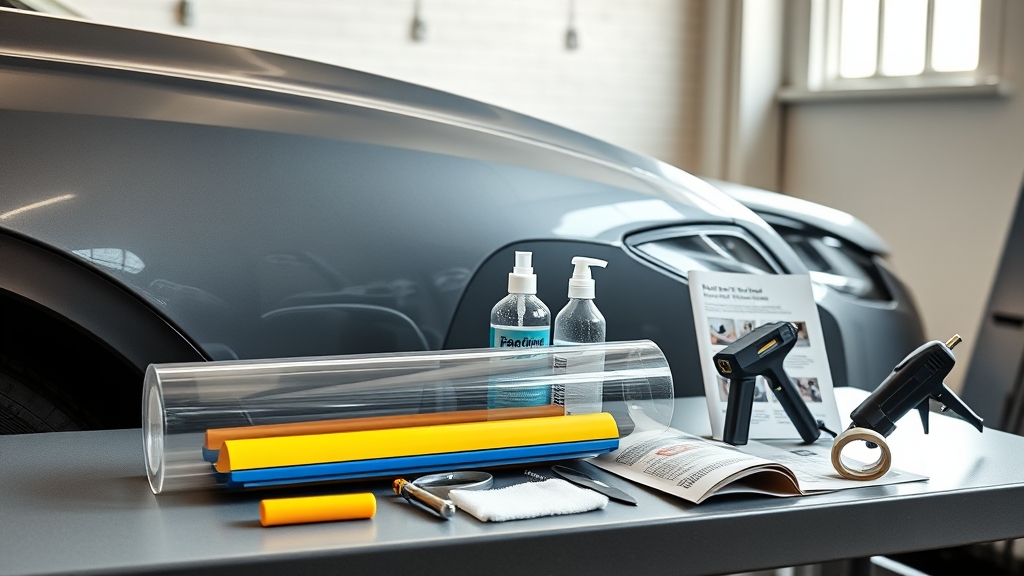
How to install a DIY PPF kit at home — actionable step-by-step plan
The following actionable steps outline the true requirements and the safest install path for most DIYers—especially for common projects like front bumpers or mirrors. If you’re new, always begin with a smaller, less complex panel.
- Order the right kit. Choose a vehicle-specific, pre-cut DIY PPF install kit with self-healing TPU film, edge tape, slip solution, measuring template, felt-edge squeegee, sharp utility blade, and a heat gun rated about 100–150 °C. Avoid bulk rolls unless you’re experienced with tracing and templating.
- Test your tools. Unbox and carefully verify everything is included. Run your heat gun through its temp settings, inspect the film for clarity and defects, and ensure your squeegee has a felt-edge squeegee to avoid scratches.
- Prepare the surface. Wash the car thoroughly, then clay bar any sections that will receive film. If unsure, check out this paint decontamination clay bar guide for process details.
- Work indoors. Only install PPF in a dust-free, shaded garage. Temperature should be 60–75 °F (16–24 °C) for best slip and bond. Direct sunlight or wind equals trapped dust and bubbles.
- Practice placement. Before removing any backing, place each pre-cut piece on the panel to check fit. For full install, practice with headlight or mirror trim—a low-visibility area.
- Apply slip solution. Generously spritz both the adhesive side of the film and the car panel with the slip solution (usually soap and water). Do not use household detergents—use what’s in the kit.
- Align and lay film. Starting from a flat section, gently lay the film and align corners. Lift and reset as needed—never stretch dry.
- Squeegee bubbles out. Using firm strokes and overlapping passes, work air and solution outward from the center to the edge. Work slowly; rushing traps bubbles.
- Seal edges with heat gun. On lowest setting (~100 °C), gently flash-heat outer edges to activate bonding and remove “fingers.” Keep the gun moving to avoid damaging film or paint.
- Let set and inspect. Allow the car to remain indoors for 24–48 hours. Do not wash or expose to rain within this period.
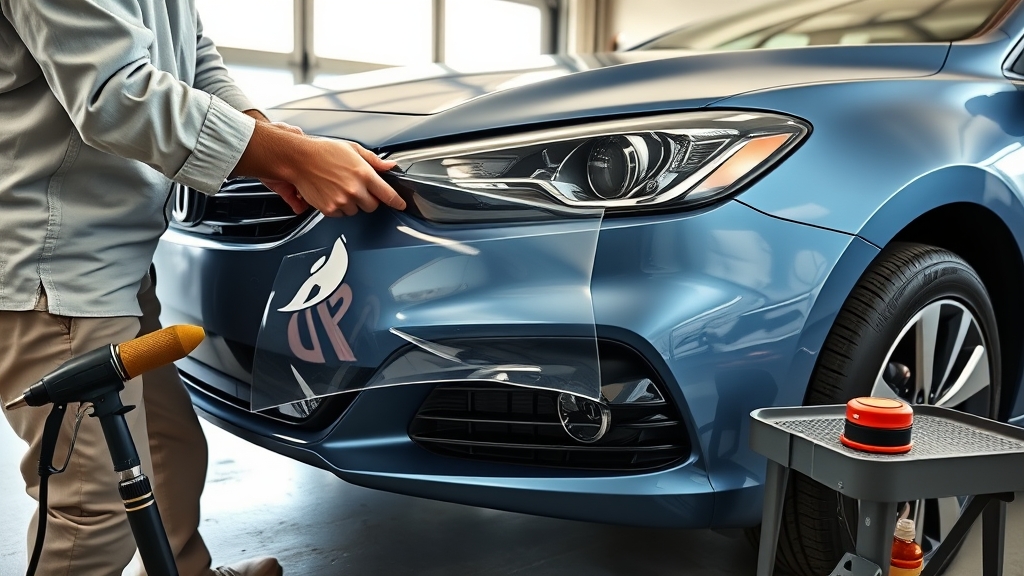
Even if you’re experienced from other detailing projects (like DIY ceramic coating kits), expect a full bumper to take 2–4 hours per panel at first. Full-car projects may take 12–18 hours (often split over a weekend), and prepping each panel is as important as the actual film application.
Advanced analysis & common pitfalls — avoid costly DIY mistakes
Using a paint protection film kit at home comes with risks. Below are the most common complaints and how to prevent each.
| Common Pitfall | Root Cause | How to Prevent It |
|---|---|---|
| Air bubbles trapped under film | Rushing installation, improper slip solution use, skipping squeegee passes | Generously wet both sides, squeegee slowly from center, lift and reset as needed |
| Edge lifting or peeling | Inadequate heat sealing, stretching film dry, dirt on edges | Careful edge prep, light heat with moving gun, use edge tape if included |
| Film misalignment | Poor test fit, no templates, skipping alignment dry run | Always dry-fit, use pre-cut kits with guide marks for first projects |
| Missing or incomplete kit contents | Ordering generic or bulk roll kits without checking package details | Buy major brand pre-cut kits, verify contents, and read buyer reviews for warnings (source) |
| Reduced durability and warranty | DIY install not meeting brand’s standard, omitted steps, low-quality prep | Follow instructions exactly, maintain film as directed, accept shorter or limited warranty |
| Heat gun burn or distortion | Holding heat gun too close or in one spot, too much heat | Use lowest temp, keep gun moving, don’t exceed brief flashes |
Biggest traps: trying to wrap full complex curves (like bumpers with sharp angles) on your first attempt or choosing a bulk roll instead of a pre-cut kit. Data shows pre-cut panels (like those from XPEL) reduce alignment failures for first-timers (Research Findings).
If you want a deeper look at PPF alternatives or more technical steps, explore this paint protection film installation guide.
Conclusion & when to hire a pro
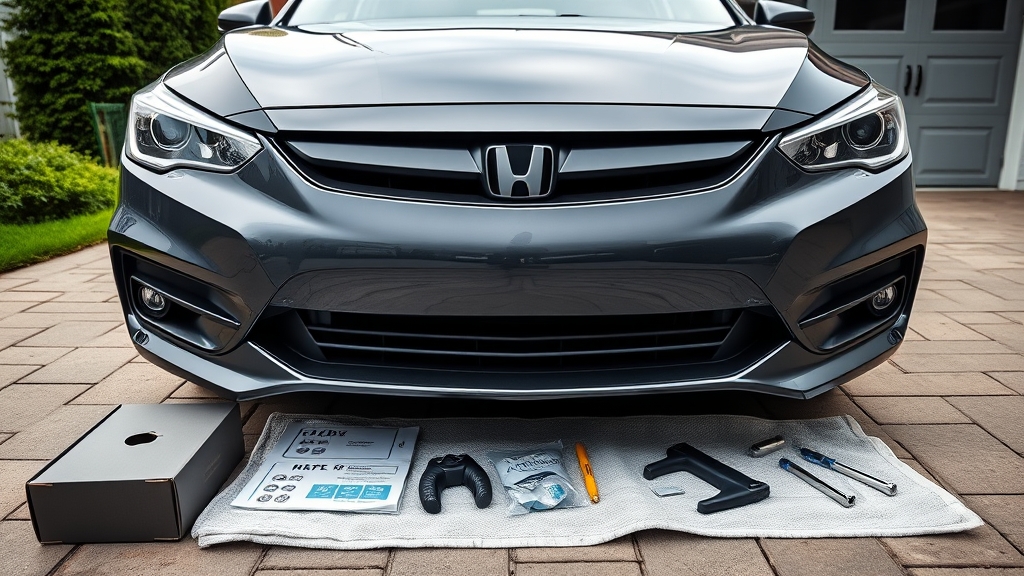
When considering a DIY PPF install kit, weigh your skill level, patience for detail work, tolerance for visible seams, and desire to save 30–50% on installation costs (Research Data). If your car is high-value, if you spot serious lift, stretch marks, or misalignments after your first attempt, or if warranty coverage is a make-or-break, booking a consult with a pro may be worth every penny. For most confident DIYers, starting with a pre-cut front bumper kit is the most cost-effective training ground. Those who want the absolute best results—and peace of mind—should hire a certified installer. Want to learn about pairing PPF with other paint protection options? Check out our guides on ceramic coating cost or compare with graphene coating spray.
Ready to protect your paint? Start with a pre-cut bumper kit for practice, or schedule a pro estimate if you want full-car protection with warranty.
FAQ / troubleshooting
What’s the fastest way to prevent air bubbles during install?
Use generous slip solution and squeegee from center outward in overlapping passes. If bubbles remain, lift the film, apply more solution, and re-squeegee. Never use pins or needles.
What heat gun temperature should I use for DIY PPF?
Most films are designed for gentle heat, ideally 100–150 °C. Always test with the lowest setting to avoid burns or distortion and keep the gun moving.
Can I use a bulk roll PPF to save more money?
Bulk rolls are harder to align and require custom cutting. For most DIYers, pre-cut kits are strongly recommended for accuracy and ease. Choose bulk rolls only if you are advanced or need custom coverage.
Will a DIY install void the PPF warranty?
Most brands offer limited warranties for DIY kits, but these are usually not as long or comprehensive as professional installs. Poor or incomplete installs can void the coverage entirely.
How do I fix edge lifting after installation?
Gently heat the lifting edge with a heat gun while pressing down with your felt-edge squeegee. Ensure the area is ultra-clean before attempting any fix.