

DIY PPF install kit solutions are exploding in popularity among car enthusiasts who want to protect their paint, control their budget, and take pride in a job done by their own hands. Does a DIY PPF kit truly deliver the savings you expect, or do the risks of cosmetic flaws and do-overs outweigh the upfront savings? Here’s a real-world guide to help you decide.
Key Takeaways
- DIY PPF install kits can cut costs by 60% or more versus professional installs, but require time, patience, and strict workspace control for best results.
- Most common DIY mistakes—like trapped bubbles, contamination, or misalignment—come from small workspaces and lack of specialized tools.
- Partial-front kits offer the best balance between savings, longevity, and manageable difficulty for hands-on car owners.
- 2024 Snapshot — DIY vs Professional PPF
- Why People Choose DIY — Real Savings & Time Tradeoffs
- Typical DIY Kit Price Breakdown (by size/type/brand examples)
- Most Common Pain Points & Mistakes Reported by Real DIYers
- Tools & Technical Requirements — What Kits Include vs. What You’ll Need
- Which Surfaces and Car Models Are Good for a DIY Kit
- Quality, Longevity & Warranty Differences (DIY vs Pro)
- Independent Performance & Testing — What We Know (and Don’t)
- Top 3 Sub-Topics Competitors Commonly Miss (and Why They Matter)
- Pro Installer Warnings & Expert Tips (How to Avoid Common Failures)
- Final Checklist — How to Choose the Right DIY Kit & Prepare Your Garage
- FAQ
2024 Snapshot — DIY vs Professional PPF
DIY PPF install kit options have surged in popularity, capturing about 35% of the U.S. market in 2024 (up from 25% in 2022), thanks to accessible pre-cut kits, online support groups, and car owners’ desire to slash install costs. Despite this growth, professional installers continue to perform roughly two-thirds of all installs, offering the reassurance of a warranty and pro finish.
Why does this matter? More choices and broader kit availability mean you can now protect your prized ride in your own garage. But as adoption rises, so does the number of posts from DIYers sharing both proud results and photos of rookie mistakes.
Why People Choose DIY — Real Savings & Time Tradeoffs
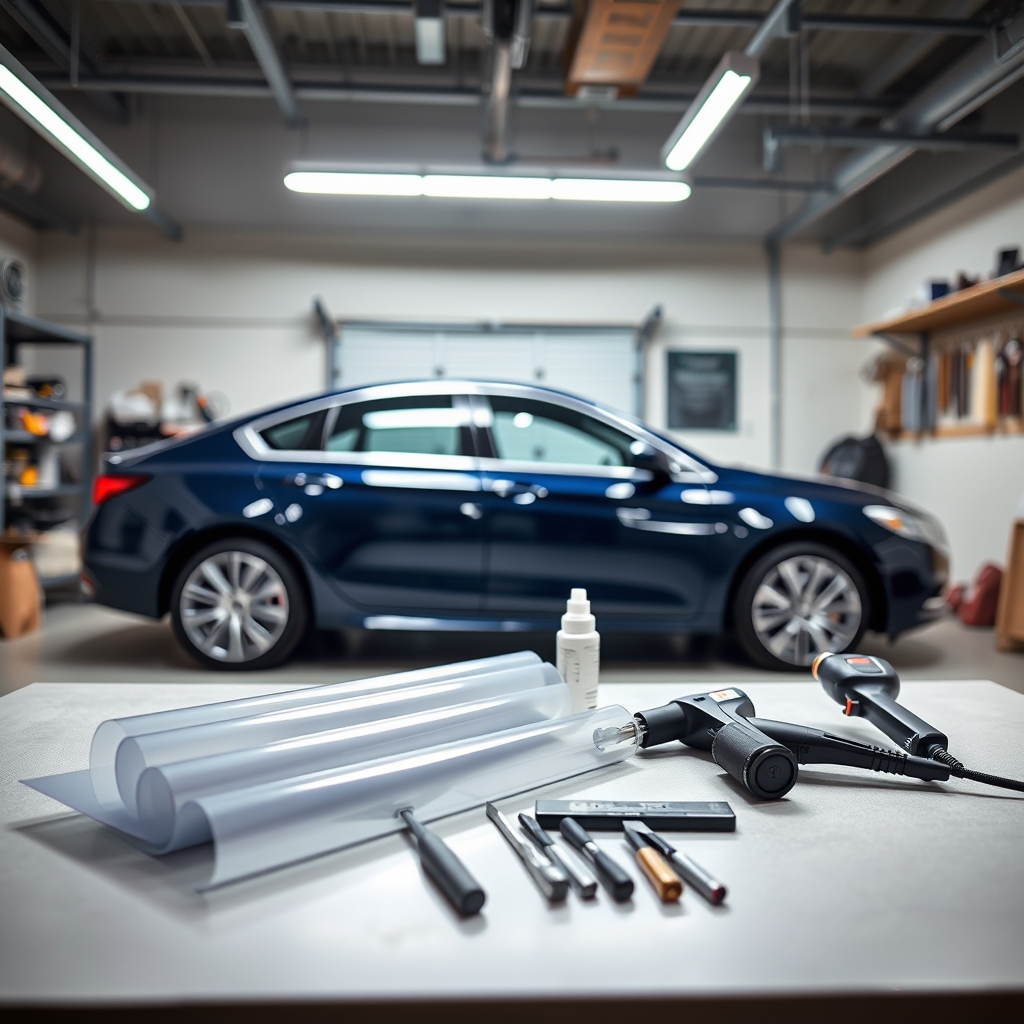
A paint protection film kit at home slashes labor costs, giving you true control. Typical full-vehicle DIY kits cost $1,200 to $2,000, while professional installation runs $5,000 to $8,000 or more. For partial-front kits, expect $100 to $600 DIY compared to over $1,500 pro installed.
However, you’ll need to invest several hours to a full weekend, learn new skills, and accept that some cosmetic flaws are probable the first time. For most hands-on car fans, starting with a partial coverage (like hood and bumper) offers the best ROI and learning curve.
Is it worth it? Many Tesla owners are saving $2,000 to $5,000+ with solid results on partial or full-front self-installs. But the real tradeoff is between your time and risk tolerance versus your desire for pro-perfect results. Most weekend warriors find the hands-on experience rewarding if their expectations are realistic—and the workspace is properly prepped.
If you’re considering PPF, don’t miss our no-nonsense paint protection film installation guide for essential side-by-side comparisons.
Typical DIY Kit Price Breakdown (by size/type/brand examples)
A DIY PPF install kit pricing depends on kit coverage, vehicle size, brand, and film grade.
| Kit Type | Estimated DIY Price Range | Example Model (Drive Protected) | Typical Pro Install (2024) |
|---|---|---|---|
| Partial Front (hood, bumper, mirrors) | $100 – $600 | Tesla Model Y Partial ≈ $370 | $1,200 – $1,800 |
| Full Front (full hood, bumper, fenders, mirrors, lights) | $500 – $1,200 | Tesla Model Y Front ≈ $570 | $2,000 – $3,500 |
| Full Vehicle | $1,200 – $2,000 | Tesla Model Y Full ≈ $1,525 | $5,000 – $8,000+ |
Thicker, more self-healing premium films cost more, but entry-level rolls can be under $300. For easy cost calculators, use both Drive Protected and independent detailers’ pricing breakdowns.
Most Common Pain Points & Mistakes Reported by Real DIYers
The main complaints about a paint protection film kit at home come down to surface prep and workspace challenges. The most frequent mistakes:
- Contamination: Tiny bits of dust or oil cause visible bubbles or “silvering” under film—most common with small or cluttered garages.
- Misalignment: Edges at mirrors, grilles, and complex curves are hard to wrap, leading to exposed paint or overlap.
- Stretching/Bubbling/Creasing: Over-stretching to force film over curves leads to permanent distortions or ghost lines.
- Poor Lighting: Not seeing lint or tiny imperfections until it’s too late. Mobile LEDs or shop lights help but aren’t included in most kits.
- No Warranty: Unlike pro installs, you pay to redo any panel with cosmetic flaws.
These issues are well documented by professional detailers.
Tools & Technical Requirements — What Kits Include vs. What You’ll Need
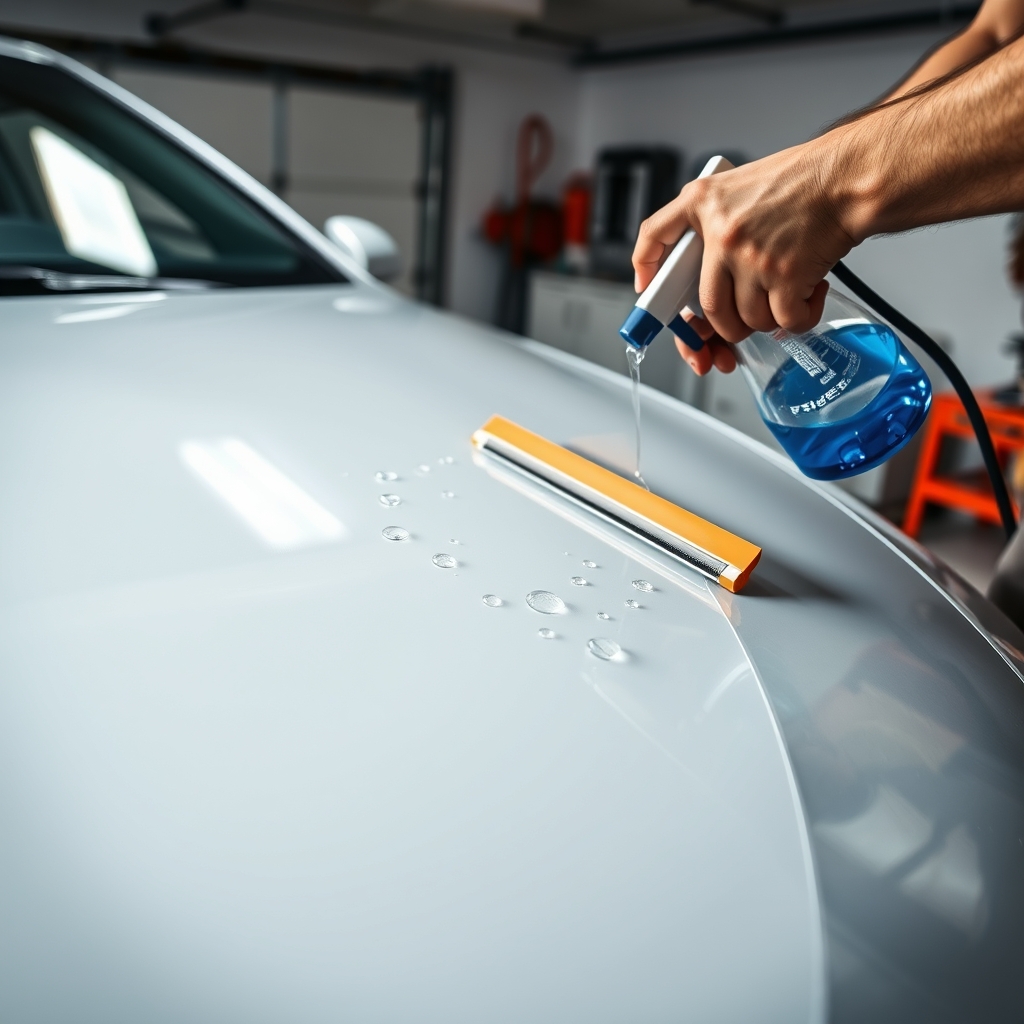
A good DIY PPF install kit should provide pre-cut film, a hard or soft squeegee, and possibly a slip/tack solution bottle. You will need:
- Spray bottles for slip and tack solution (mix of water/isopropyl/alcohol—check brand guidelines)
- One or two squeegees (at least one felt-tip for edges)
- Heat gun or strong hair dryer for stretching around curves
- Clay bar, isopropyl alcohol, microfiber towels for prep
- Shop/portable LED light
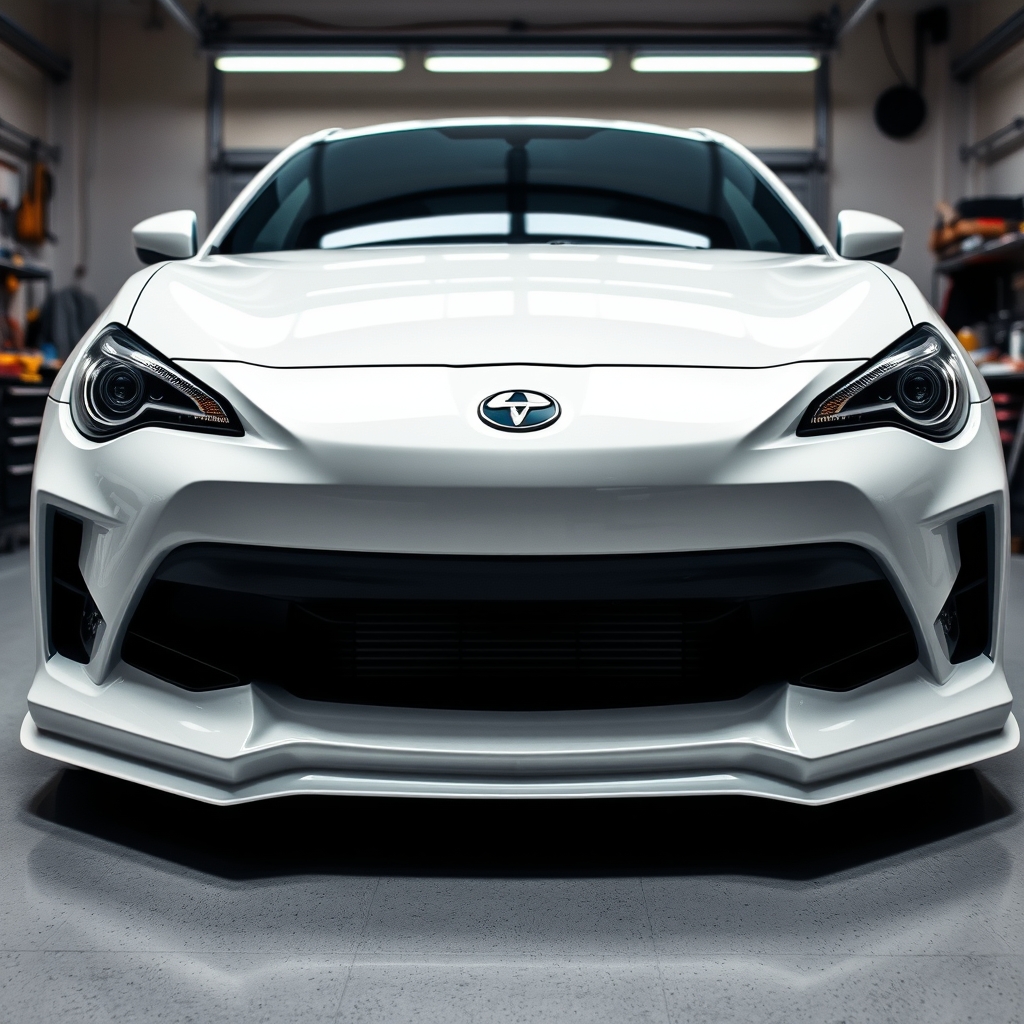
Minimum workspace: Enclosed garage, dust control, at least 8×20 feet clear, zero airflow during install, and a paint surface that’s cool and bone dry.
Plan to set aside several hours for partial kits, and a full uninterrupted weekend for full-vehicle installs. For a full DIY breakdown—including tools for other detailing projects—see our guides on paint decontamination clay bars, dual action polishers, and foam cannon car wash equipment.
Which Surfaces and Car Models Are Good for a DIY Kit
Flat panels (like hoods, roofs, and wide fenders) and gently curved bumpers are the easiest to install film on yourself. Pre-cut partial-front kits for popular models (such as Tesla Model Y or new Toyota Camry) are common, making alignment easier.
Challenging spots include door edges, mirrors, aggressive side skirts, and complex headlights or fender flares—these often trip up first-timers. If this is your first project, start with an easy panel and build your confidence.
Many owners get the best value by installing only a partial or full-front paint protection film kit at home, then leaving high-risk panels to a pro if required.
Quality, Longevity & Warranty Differences (DIY vs Pro)
Most professional PPF jobs come with a multi-year warranty on both material and installation—so any failure, bubbling, or edge lifting is fixed on their dime. DIY kits rarely offer install warranties due to user error, and some film grades only cover defects in the film itself, not your mistakes.
If a DIY panel fails or looks unsatisfactory, you’ll pay for material and your time to redo it—plus the cost (and hassle) of removing the old film cleanly. If doing a full vehicle for the first time, this hidden risk can eat up your savings fast.
Professional-grade high-clarity films also offer a more invisible look and are less prone to yellowing, though DIY kits now use similar premium material if you buy the right brand.
Independent Performance & Testing — What We Know (and Don’t)
For scratch resistance, gloss, and yellowing resistance, there’s very little fully independent lab research on most DIY-available film brands today. Manufacturer claims may be optimistic. If long-term protection matters most to you, request third-party test data for any kit you’re considering.
For more about comparing film properties and choices, check out our best ceramic coating kit for beginners guide and real ceramic coating cost breakdowns for top alternatives.
Top 3 Sub-Topics Competitors Commonly Miss (and Why They Matter)
- Long-term replacement economics: DIY can save you thousands up front, but redoing a panel (or paying a pro after a failed DIY) may cost more over time than a warranty-backed pro job.
- Film thickness and install difficulty: Thick, self-healing, or ultra-clear films look better but are much trickier to install than basic rolls. Always check if film spec matches your skill level.
- Workspace decontamination: Before even unboxing your kit, spend an hour airing out dust, cleaning floors/walls, and closing all doors to avoid contamination—the most common reason for rookie disappointment.
With about 35% of DIYers and savings of 60–70%, these factors determine if you’ll finish smiling—or calling a pro!
Pro Installer Warnings & Expert Tips (How to Avoid Common Failures)
Top tips, straight from the pros:
- Clean and clay-bar your paint twice—never install film on just-washed paint.
- Use a detailing light and inspect every inch for lint, especially in seams and emblems.
- Start with simple panels (like a hood or roof); leave mirrors/fender flares for last.
- Only use heat when attempting gentle stretches; if the film fights you, don’t force it—try pulling and laying flatter instead.
- When in doubt, pause. It’s better to peel up and reset a panel than to push through and regret trapped dirt or creases.
Mistakes with contamination or aggressive curves account for most post-install complaints. If you hit a spot that feels “high risk,” ask for help before proceeding. See our dedicated DIY PPF install kit tips for more expert tricks.
Final Checklist — How to Choose the Right DIY Kit & Prepare Your Garage
- Is the film pre-cut for your exact model and year?
- Does the kit include squeegees, slip/tack bottles, and clear install instructions?
- What warranties (if any) cover the film material or your purchase?
- Is your garage large, clean, and fully enclosed? Can you stop all airflow for at least a few hours?
- How much time can you truly commit—several hours for partial, 1–2 full days for full car?
If it’s your first project, begin with a partial or full-front paint protection film kit at home. Save the more complex curves (and risk) for later. This approach delivers real savings and real learning, while keeping visual mistakes to a minimum.
For a deeper dive into total cost, alternatives like ceramic or graphene coatings, and case studies, see our guides to ceramic coating cost or graphene coating spray.
Conclusion
A DIY PPF install kit can truly save most car owners thousands—if you approach the job with realistic expectations, the right workspace, and patience for prep and detail. Partial-front kits are your best bet for value and manageable difficulty. If after your first install you want more, you can always expand your skills (and protection) to additional panels.
Ready to protect your ride and your wallet? Get started today with an easy DIY kit. For expert support, how-to videos, and product insights, bookmark this guide and browse related protection upgrades below.
FAQ
Is a DIY PPF install kit really suitable for first-timers?
Yes—especially if you start with a partial or full-front kit designed for your make/model. Simpler, flatter panels are manageable for first-timers with careful research and prep. Complex curves on fenders or mirrors are best left to advanced DIYers or professionals.
What tools do I absolutely need for a home PPF install?
You’ll need at minimum: pre-cut film, a squeegee, two spray bottles (slip and tack solutions), a heat gun or strong dryer, isopropyl alcohol and microfiber towels for cleaning, and bright portable lights to spot contamination.
Will my DIY install last as long as a professional job?
Film longevity mainly comes down to prep, workspace cleanliness, and avoiding stretching or trapping bubbles. DIYs done right can last many years, but pro jobs offer a warranty for peace of mind and repairs if needed.
Can I install PPF outside, or do I need a garage?
A garage or fully enclosed area is strongly recommended. Outdoor installs risk wind-blown dust or pollen ruining the film. Small garages can work well if you meticulously clean, close doors, and manage airflow.
How does a DIY PPF kit compare to ceramic/graphene coating for protection?
Paint protection film provides superior impact and scratch resistance compared to all coatings. Ceramic or graphene coatings offer strong chemical and UV protection but won’t stop rock chips—the best value is often a hybrid approach with PPF on high-risk panels and a coating on the rest.